Planning video game projects so you actually finish them

Posted on January 11th, 2024
Let’s face it - games are long projects. Even a small scoped solo-dev game may take months, even years, to develop. When we’re in the thick of building, we are at constant risk of “losing the forest for the trees”, getting overwhelmed by everything left to do, and eventually quitting. Especially if you’ve had your eye on a different project idea.
Creating a design document board is a good way to mitigate shiny object syndrome, that feeling of wanting to switch to yet another new gamedev project.
Design documents can help keep you grounded, motivated, and focused on the very next thing to implement in your project. A detailed plan will take the agony out of deciding what to do next and free you up to just sit down and code the game.
Making these document boards has been a game changer for my personal process. Let’s talk a little bit about helpful things that can go into these documents.
Real quick, here’s a video version of this post:
(I walk through some of my actual project documents in the video.)
Ideation
These days, I have been reaching for Figma for organizing and brainstorming my game ideas. Figma is perhaps best known as a design application for creating and collaborating on app mockups, but it can also be used as an infinite whiteboard.
Here’s of an example of an Enemy Idea Board from an upcoming project of mine. Anytime I have an enemy idea, I’ll add a character mockup to the board.
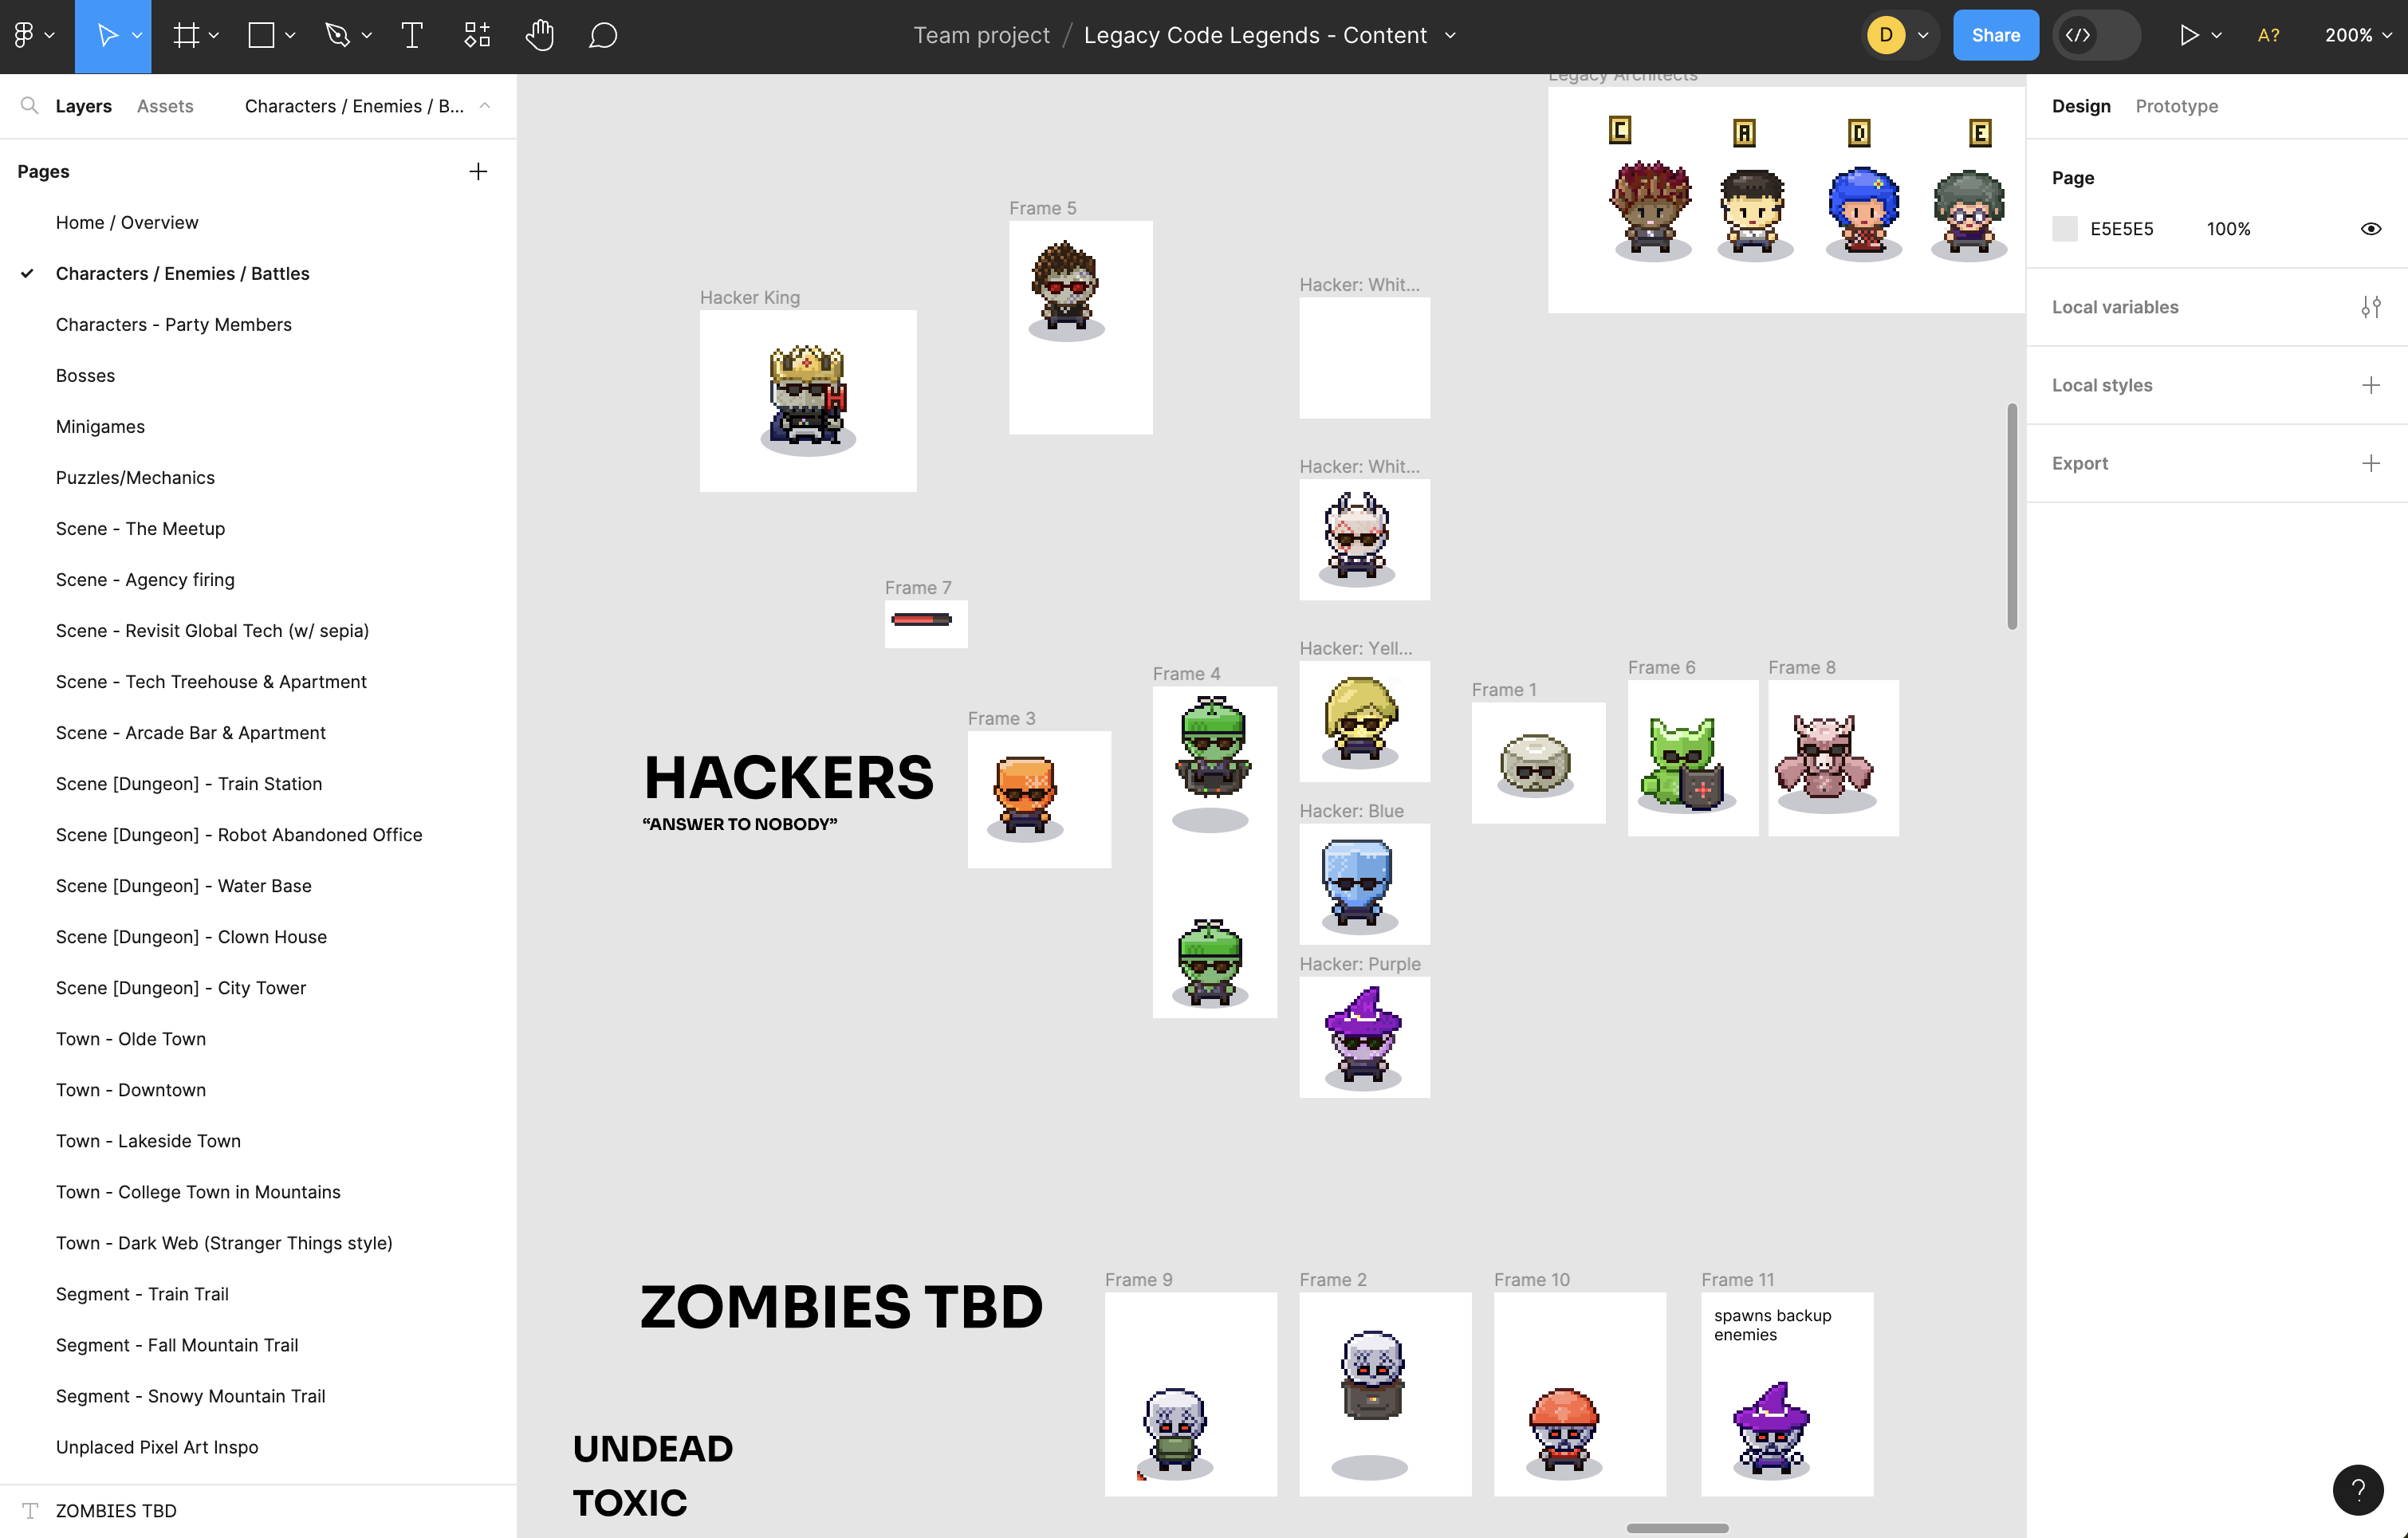
You don’t need game art right away. On day one, I’ll start opening art boards and filling them only with raw bits of text. These are very free-form, where I gather any little snippet of idea. “Jerk rival”, “angry fish”, “joke about tacos”, etc.
For example, if I know my game should have a main town, I’ll make a large art board for the town design and pump it full of ideas of events you may encounter in the town. They start as small seeds, then grow into full ideas over time.
Figma allows media imports, so my next step is to add additional images alongside the text snippets. I’ll sketch cheap mockups and characters doodles in a physical notebook, then snap a photo using my phone camera and import into Figma. This capability is especially handy when you are away from a computer but feeling inspired and want to capture ideas for your game. Figma can be used on your phone, too, so ideas can be captured from anywhere. (I swear this post is not a plug for Figma.)
I remember designing a full chapter of Danger Crew on a handful of coffee shop napkins one day on a lunch break. I took photos of each napkin, laid them all out in connections, and eventually made pixel art equivalents for each napkin slice. The final maps in the game turned out shockingly similar to the napkin versions.
Asset Generation
The next phase is to produce real game assets for each sketch. For me, this usually means going to town in Aseprite, my pixel art editor of choice. I’ll make close-enough pixel art versions of the doodle ideas and drop those in the same art boards alongside the original sketches.
These don’t need to be final assets, they are simply placeholders that associate progress to each character or section of the game. All of the rough sketches and text notes act as a checklist - you can immediately see at a high level which pieces have art ready and which still need some designing.
For the record, if you are using pre-made art, you can gather those assets from a resource like Itch or Kenney and plop them in your art boards. Anything to designate “this is the graphic I want to use for this entity”.
Once most sketches have real game assets associated, the whole collection will start to feel like the cast of your whole game!
Code Design
One of the biggest value adds of a design document is the ability to see your feature ideas at a high level. The bird’s eye view can help inform the way you approach code.
For example, when planning out an RPG game, you might have all of the game’s attacks, stats, and abilities on the whiteboard. Or, you know, at least as many as you have thought of so far. The basic attacks are easy, right? 10 attack damage… done! No problem.
But, as soon as you want a special attack that does damage AND heals AND causes another side effect AND schedules a different kind of side effect to happen later… well, all that stuff can be tricky to layer in later. It may be beneficial to have an idea of types of requirements before you start coding up the RPG system. At least as best you can.
Flexibile and extensible code is always something to strive for, because we’ll never 100% of the requirements up front, but planning as many features as possible before coding them may smooth out the whole game development process.
Pick just one thing
After building out your design document a bit, you’ll have a clear picture of everything you want to include in the game, and also an understanding of everything you haven’t gotten to yet.
Feeling stuck or unmotivated? Pick just ONE outstanding task in the doc and build it. Repeat this process over and over, and unexpectedly soon your game will be ready to go.
Previous Post